




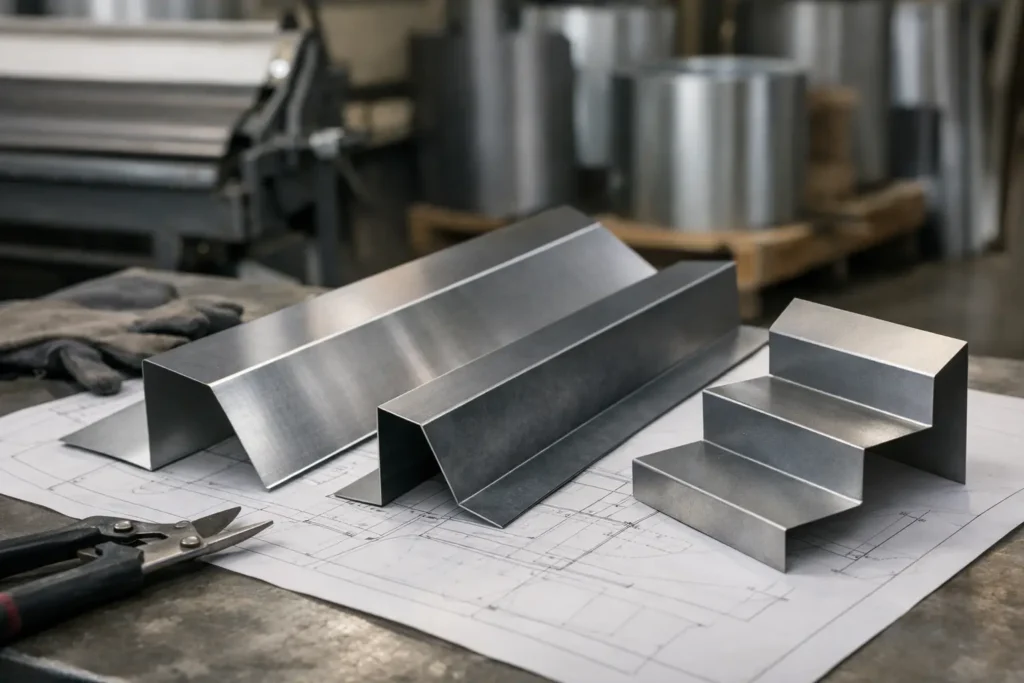
A roof can have quality shingles, properly installed underlayment, and good ventilation, yet still develop a leak at a chimney, wall transition, or low-slope connection. Those trouble spots are where custom metal flashing fabrication earns its value. Flashing is not a decorative trim item. It is a carefully formed piece of metal that directs water away from vulnerable joints before it can reach the framing, insulation, or interior finishes.
For homeowners, farmers, contractors, and commercial property owners in Southwestern Pennsylvania, details matter. Heavy rain, snow buildup, freeze-thaw cycles, and wind-driven water can expose gaps that may not show up on a simple roof diagram. A flashing piece that fits the actual field conditions – not just a standard catalog dimension – can make the difference between a finished project and a future repair call.
What Custom Flashing Is Designed to Solve
Metal flashing manages water where building materials meet, change direction, or terminate. Common examples include chimney flashing, valley metal, wall flashing, drip edge, rake trim, headwall flashing, sidewall flashing, counterflashing, and transition pieces between different roof pitches or materials.
Standard pieces work well for straightforward applications. A typical eave, simple roof edge, or uncomplicated wall tie-in may only need common profiles in standard lengths. Custom fabrication becomes the better option when the building has unusual dimensions, nonstandard roof angles, deeper wall assemblies, masonry details, additions, dormers, or existing conditions that do not match current construction.
That distinction is practical, not cosmetic. Trying to force a standard flashing profile onto an irregular opening can leave an exposed seam, an undersized leg, or a bend that does not shed water correctly. Caulking may hide the issue for a while, but sealant should support a properly designed flashing system, not replace one.
Where Custom Metal Flashing Fabrication Makes Sense
A custom piece is especially useful when a roof meets brick, stone, siding, or another vertical surface. Chimneys are a frequent example. Their dimensions vary, masonry surfaces are rarely perfectly uniform, and the roof slope changes how water approaches the chimney. Properly sized base flashing, step flashing, cricket flashing when needed, and counterflashing all need to work together.
Roof-to-wall transitions also deserve close attention. A sidewall flashing profile needs enough vertical coverage behind the wall material and enough horizontal coverage over the roofing material. If either leg is too short, water can get behind the system during wind-driven rain or when snow sits along the intersection.
Custom pieces are also common on pole buildings, garages, agricultural structures, barndominiums, and commercial buildings. These projects often involve long runs, metal roofing panels, wainscot, insulation packages, overhead doors, and roof transitions that benefit from profiles built to the exact panel and framing layout.
Older properties present another reason to fabricate rather than force a stock part. Existing roofs and walls may have settled, been remodeled, or been repaired more than once. Measuring the real opening helps avoid a patchwork fix that creates more seams than necessary.
The Details That Determine Whether Flashing Works
Good flashing starts with more than length and width. The metal type, thickness, finish, bend locations, and overlap requirements all affect performance. The right choice depends on the roof system, the surrounding materials, the location of the detail, and how much exposure it receives.
Metal Selection and Compatibility
Painted steel is commonly used for roofing trim and flashing because it offers a durable finish, a broad range of colors, and a cost-effective match for many metal roof and siding systems. Aluminum can be a good choice in certain applications because it resists corrosion, but it has different strength and compatibility considerations. Copper is long-lasting and distinctive, though it is usually a premium option and should be planned carefully around adjacent materials.
Compatibility matters. Some metals can react when they remain in contact with other metals or certain treated materials, particularly when moisture is present. Fasteners, roofing panels, masonry, sealants, and underlayment should be considered as part of the whole assembly. The least expensive metal is not always the best value if it creates premature staining, corrosion, or a mismatch with the existing roof system.
Gauge and Shape
A heavier gauge may be worthwhile for wide pieces, exposed edges, high-traffic commercial areas, or locations where the flashing needs to hold its shape over time. Lighter material can be appropriate for certain trim profiles, provided it is supported and installed correctly.
The bend design is equally important. A hemmed edge can add stiffness and reduce sharp exposed edges. A kick-out at the bottom of a wall flashing can move water away from siding and into a gutter. A taller vertical leg may be needed where snow accumulation or heavy runoff is expected. These are small design decisions, but they are what allow flashing to control water instead of merely covering a joint.
Measure the Building, Not the Assumption
The most reliable custom flashing begins with accurate field measurements. That means measuring the actual roof slope, the width of the transition, the depth of adjacent materials, and the amount of coverage needed under or over each layer. Measurements should account for overlaps, end dams, hems, expansion, and the installation sequence.
For a chimney, for example, the final dimensions should reflect the roof pitch, chimney width, chimney depth, masonry condition, and roofing material. A piece measured only from the front face may ignore the water load coming from uphill or the clearance needed for counterflashing.
It is also wise to identify obstacles before fabrication begins. Vents, skylights, gutters, panel ribs, uneven masonry, wall trim, and fastener locations can all change the profile. A clear sketch with dimensions, photos, and notes about which direction water flows can prevent costly rework.
When preparing a request for custom metal flashing fabrication, provide these essentials:
- The material type, color, and preferred gauge when known.
- The exact length of each run and the roof pitch or wall angle.
- The required leg dimensions, including how far the flashing must extend beneath roofing or behind siding.
- Details about nearby materials, such as brick, shingles, metal panels, wood siding, or gutters.
- A photo or drawing that shows the location and direction of water flow.
A knowledgeable supplier can help turn those details into a profile that makes sense for the job. If you are unsure about a measurement or bend requirement, asking before the metal is formed is far better than trying to modify a finished piece on the roof.
Fabrication Is Only Half the Job
Even a well-made flashing piece can fail if it is installed in the wrong order. Flashing must be layered so water always has a path outward and downward. Underlayment, ice and water protection where appropriate, roofing materials, wall coverings, and flashing components must overlap in the correct direction.
For shingle roofs, step flashing is typically integrated course by course with the shingles rather than installed as one continuous exposed strip. Counterflashing at masonry needs to protect the top edge of base flashing. For metal roofing, trim profiles must account for panel ribs, closure strips, butyl tape, fastener placement, and the manufacturer’s installation details.
Overuse of sealant is a warning sign. Quality sealant has a place at laps, fasteners, and specific transitions, but a flashing assembly should still shed water if the sealant eventually ages. Screws placed through the wrong portion of a flashing piece can also create leak paths, especially in low-slope or standing-water areas.
When Repair Is Enough and When Replacement Is Smarter
Not every flashing issue requires a complete replacement. A loose fastener, small failed sealant joint, or minor localized damage may be repaired if the underlying metal remains sound and the installation sequence is intact.
Replacement is often the smarter long-term choice when flashing is rusted through, undersized, bent away from the surface, repeatedly patched, or tied into a roof that is already being replaced. Re-roofing is one of the best times to correct old chimney, valley, and wall flashing details because the surrounding materials are already being opened up.
Property owners should also look beyond the visible stain on a ceiling. Water can travel along decking, framing, insulation, or wall surfaces before it becomes visible indoors. The leak may be near the flashing, but the source can be uphill from where the damage appears.
A Local Approach to Better Roof Details
Custom work does not have to mean unnecessary complexity or an inflated price. It means selecting a profile and material that fit the building, the roof system, and the weather exposure. At Tri County Door & Builders, practical guidance starts with understanding the project rather than pushing a one-size-fits-all part.
Before ordering or installing flashing, take the time to inspect the transition, measure carefully, and think through how water will move across the surface. A properly fabricated piece may be a small part of the overall project, but it protects some of the most important joints on the building for years to come.